Self Leveling Concrete: Thickness, Cost, and DIY Guide
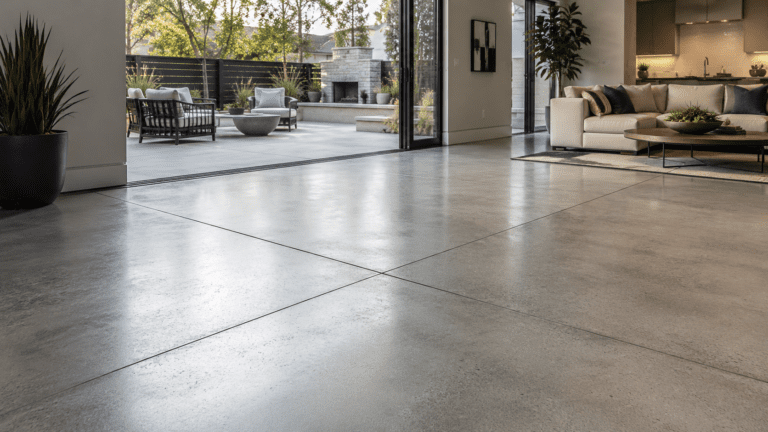
Self leveling concrete is a flowable cement-based material used to flatten uneven floors before tile, vinyl, laminate, carpet, or wood flooring. It works over a stable, properly prepared substrate. It will not repair settlement, active cracks, weak concrete, moisture problems, or structural damage.
How Self Leveling Concrete Works
Self leveling concrete is also called self leveling underlayment, self leveling compound, or floor leveler.
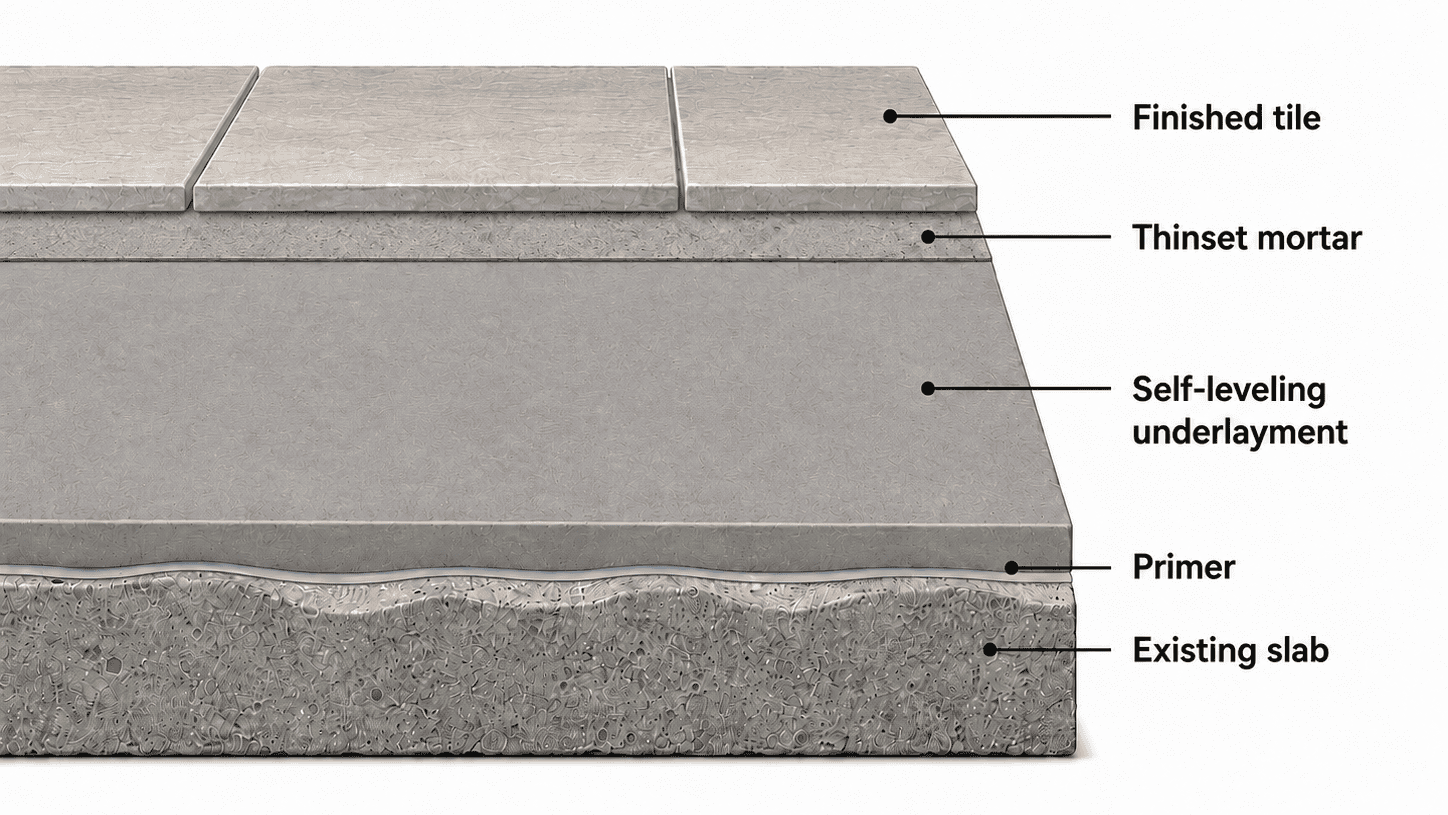
It contains hydraulic cement, fine aggregate, polymers, and additives that improve flow. When mixed with the specified amount of water, it spreads across the floor and fills shallow low areas.
Most self-leveling products are underlayments. Which means they need another floor covering above them like tile, vinyl, carpet, wood etc.
Self Leveling Concrete Is Not SCC
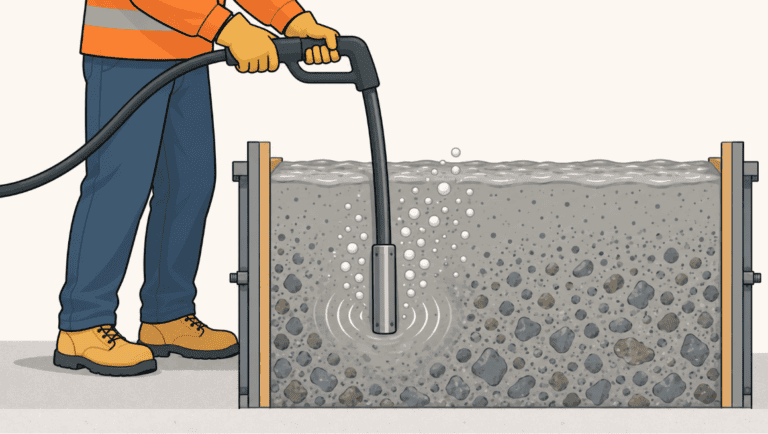
Self leveling concrete is not the same as self-consolidating concrete, or SCC.
Self leveling concrete is a relatively thin floor material made with fine aggregate. SCC is a structural concrete mix containing coarse aggregate. Contractors use SCC to fill reinforced formwork without mechanical vibration.
Some self leveling products reach compressive strengths above 4,000 or 5,000 psi. That does not make them structural slabs.
When to Use Self Leveling Concrete
Use self leveling compound when the existing floor is stable but not flat enough for the planned floor covering.
It works well for:
- Shallow dips and broad low areas
- Uneven basement floors
- Bathrooms and kitchens
- Large-format tile
- Luxury vinyl plank
- Sheet vinyl
- Laminate flooring
- Carpet
- Engineered wood
- Approved radiant-floor heating systems
In my experience, self-leveler works best when the problem is the floor profile rather than the structure below it.
A shallow dip left by an uneven original pour is a good candidate. A slab that continues to settle is not.
When Not to Use It
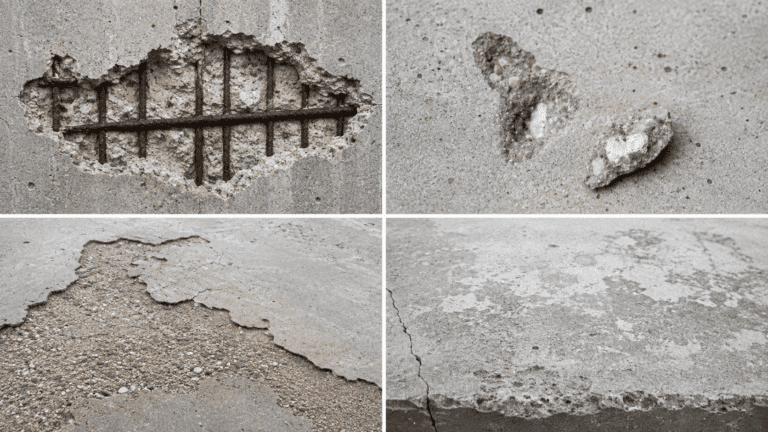
Do not use self leveler to hide a structural, moisture, or substrate problem.
Active settlement: Stabilize, lift, or replace the slab before installing a floor covering. see foundation slab repair guide.
Moving cracks: Find the cause of movement. A thin topping will not stop a crack that continues to open.
Weak or dusty concrete: Remove the unsound surface before pouring.
Water entry or hydrostatic pressure: Correct the moisture source first.
Flexible wood floor: Strengthen the framing or subfloor before adding more weight.
Deep elevation changes: Use a deep-fill product or another approved build-up system.
Exterior exposure: Use a product specifically rated as an exterior topping.
Also check doors, cabinets, stair risers, appliances, drains, and adjoining floors. Self-leveler corrects low areas by raising the finished elevation.
It will also remove an intentional slope. Do not level a shower, balcony, garage drain area, or mechanical-room floor that needs to direct water toward a drain.
Self Leveling Concrete vs Other Floor Materials
Self leveling compound works best over broad areas with gradual low spots. Other repair materials suit different conditions.
Floor patch works better for small holes, isolated depressions, and localized repairs. You shape it with a trowel instead of allowing it to flow.
Concrete resurfacer renews a worn concrete surface. Some resurfacers can remain exposed, while most self-leveling underlayments cannot.
Screed builds elevation or creates a controlled slope. It does not flow freely like self-leveler.
How Thick Can Self Leveling Concrete Be?
There is no universal thickness limit as it depends on the product.
For example, Sika lists a typical application thickness of 1/8 to 2 inches, with the upper thickness limited to localized areas
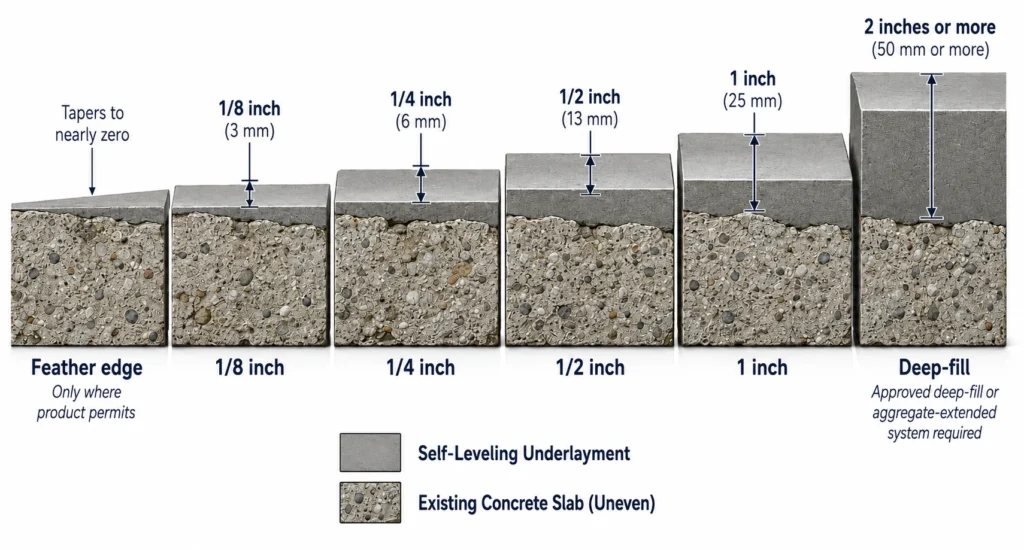
Deep-fill products can allow greater thickness. Some also permit approved aggregate to be added for thick placements.
Before buying a product, check:
- Minimum application thickness
- Maximum thickness in one pour
- Whether feather edging is allowed
- Whether aggregate extension is allowed
- Whether multiple lifts are permitted
- Drying time at the planned depth
Do not estimate the material from the deepest point alone.
Survey the floor with a laser level or long straightedge. Use the average pour depth when estimating bags.
Compatible Floors and Substrates
Self-leveling compound commonly goes over concrete. It can also work over other surfaces when the manufacturer approves the complete system.
Concrete
Concrete should be sound, clean, and free from oil, dust, paint, sealers, curing compounds, and weak material.
Some floors need grinding or mechanical profiling before primer is applied.
Plywood and OSB
Use a product specifically approved for wood.
The panels must be firmly attached and stiff enough for the finished flooring. Some systems also require metal lath, reinforcement, or a wood-specific primer.
Do not assume that a standard concrete floor leveler will work over plywood or OSB.
Existing Tile and Terrazzo
Sound tile or terrazzo can sometimes remain in place. The surface normally needs cleaning, abrasion, and a primer intended for nonporous materials.
Loose or hollow tiles should be removed.
Painted or Sealed Concrete
Paint, sealer, and curing compounds can prevent a good bond. Mechanical removal is usually safer than pouring directly over the coating.
Radiant Heating
Many self-leveling products work with radiant-floor systems. Confirm that both the heating system and the floor leveler allow the planned installation.
Existing Self-Leveler
You can sometimes pour over an older self-leveling layer if it remains sound and well bonded. Clean, prepare, and reprime it as required.
Before choosing a product, review its technical data sheet.
How to Prepare the Floor
Preparation controls the bond.
I have seen more failures caused by dust, contamination, weak surface material, and missed primer than by low material strength.
ASTM F2873-24 provides guidance for subfloor preparation and self-leveling underlayment installation beneath resilient flooring.
- Remove loose concrete, paint, oil, wax, curing compound, and weak adhesive.
- Grind or mechanically profile the surface when required.
- Vacuum the floor thoroughly.
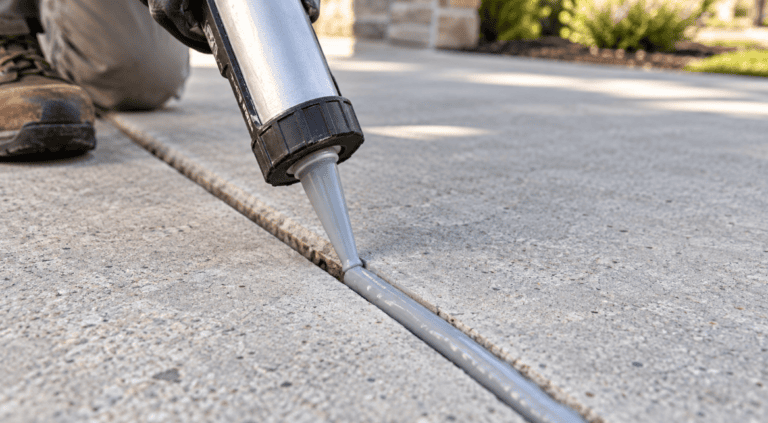
- Repair holes and stable cracks with a compatible repair material.
- Keep expansion and movement joints active.
- Seal gaps, penetrations, and doorways.
- Apply the specified primer.
- Mark the target floor elevation.
- Stage the bags, water, buckets, mixer, rake, and tools.
Primer improves adhesion and controls water loss into a porous substrate. It also helps reduce pinholes caused by air escaping from the slab.
Use the primer specified by the self-leveler manufacturer. Follow the stated dilution, coverage, and drying time.
Do not bridge an active movement joint with self-leveling compound. Carry the joint through the new layer and finished flooring where required.
How to Apply Self-Leveling Concrete
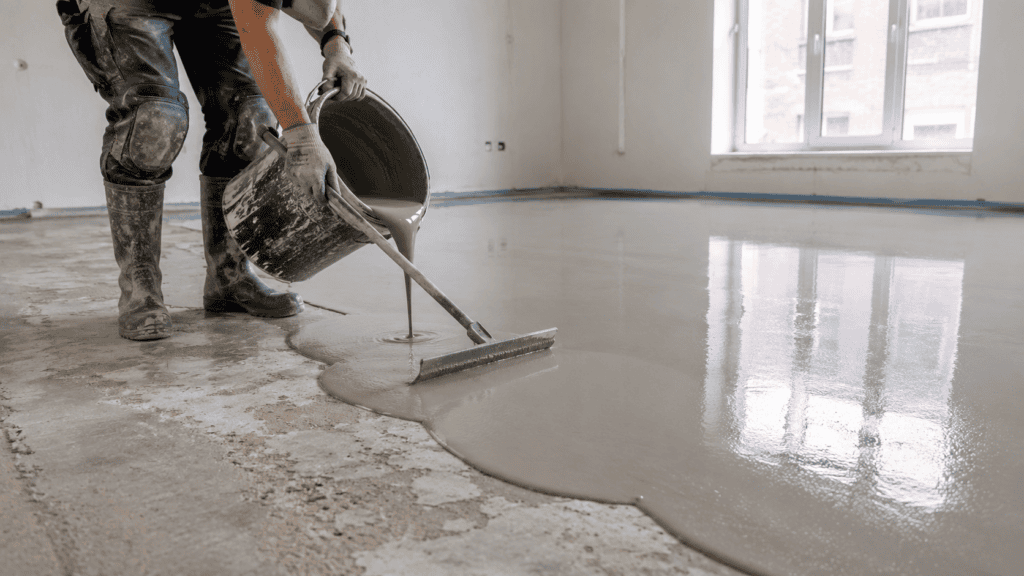
Self-leveling compound has a limited working time. Plan the pour before opening the first bag.
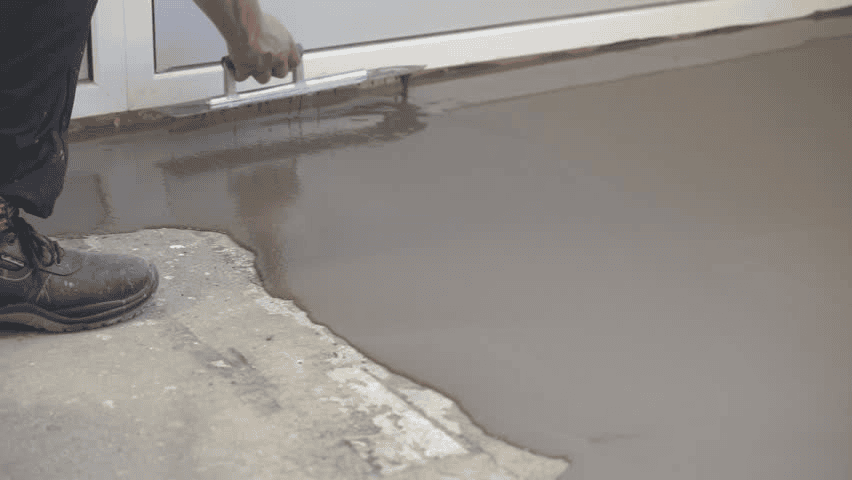
- Measure the exact amount of clean water.
- Pour the water into a clean mixing barrel.
- Add the dry powder while mixing.
- Use the recommended paddle and drill speed.
- Mix for the full time stated on the bag.
- Pour the batch immediately.
- Place the next batch into the wet edge.
- Guide the material with a gauge rake or smoother.
- Use a spiked roller only when recommended.
- Protect the fresh surface from traffic, drafts, and direct heat.
Never add extra water to improve flow. Excess water can cause segregation, shrinkage, longer drying times, and a weak surface.
Large rooms normally require at least two people. One person mixes continuously while another pours and distributes the material.
A third person can help carry bags, measure water, and maintain the wet edge.
How Long Does Self-Leveling Concrete Take to Dry?
Walk-on time and floor-covering installation time are different.
Many rapid-setting products allow light foot traffic after about 2 to 4 hours. Tile may be installed later the same day.
Vinyl, rubber, carpet, and wood often require more time because they are sensitive to moisture.
As a general planning guide:
- Light foot traffic: Often 2 to 4 hours
- Tile or stone: A few hours to about 24 hours
- Vinyl, carpet, or rubber: Around 16 hours to several days
- Engineered wood or hardwood: Often 1 to 3 days or longer
These are not universal waiting periods.
Thickness, temperature, humidity, ventilation, substrate moisture, and product chemistry all affect drying.
Follow the instructions for the self-leveler, flooring adhesive, and final floor covering. Use the longest waiting period required by the three systems.
How Much Does Self-Leveling Concrete Cost?
Cost depends mainly on floor area, average depth, product coverage, and local bag price.
Material alone often costs more than standard concrete because self-leveling compounds contain specialized polymers and additives.
You may also need to pay for:
- Primer
- Crack repair
- Grinding
- Mixing equipment
- Edge dams
- Labor
- Waste
- Moisture testing
Thickness has the largest effect on the required quantity.
A room averaging 1/2 inch needs about twice as much material as the same floor at an average depth of 1/4 inch.
Use the coverage stated on the product bag. Then calculate:
Required bags × local price per bag = estimated material cost
This does not include preparation, tools, labor, or finished flooring.
Common Problems and Fixes
| Problem | Common cause | Practical response |
|---|---|---|
| Material did not level | Wrong water amount or slow placement | Check mixing and maintain a wet edge |
| Cracks appeared | Substrate movement or excess water | Determine whether the crack is active |
| Hollow areas | Dust, weak concrete, or missed primer | Remove failed material and repair the substrate |
| Pinholes | Porous slab or poor primer coverage | Prepare and prime correctly |
| Ridges between pours | Earlier batch started setting | Improve mixing and placement coordination |
| Powdery surface | Excess water or laitance | Remove weak material before flooring |
Do not install finished flooring over loose, hollow, soft, or powdery self-leveler.
Inspect the bond and surface strength first. Failed areas usually need removal rather than another thin coat on top.
FAQs
Does Self Leveling Concrete Need Primer?
Most products require primer. It improves adhesion, controls water loss, and reduces pinholes.
Can It Fix a Sloped Floor?
It will seek level and may remove the slope. Do not use it where the floor must drain.
Can You Pour It Over Cracks?
Repair stable cracks before pouring. Do not cover active cracks or movement joints without treating the movement.
Can You Pour a Second Layer?
Many products allow a second lift. The first layer may need cleaning, mechanical preparation, and another coat of primer.
Is Self-Leveling Concrete Waterproof?
No. Standard self-leveling underlayment is not a waterproofing membrane. Wet areas may need a separate waterproofing system.
Can It Remain as the Finished Floor?
Most self leveling underlayments require a floor covering. Use a product specifically labeled as a self-leveling topping when you want an exposed surface.
Is It Suitable for DIY Installation?
A small room may be manageable for an experienced DIYer. Large rooms, deep pours, wood subfloors, and short working times make professional installation safer.